Android自定義View實現(xiàn)波浪動畫
本文實例為大家分享了Android自定義View實現(xiàn)波浪動畫的具體代碼,供大家參考,具體內(nèi)容如下
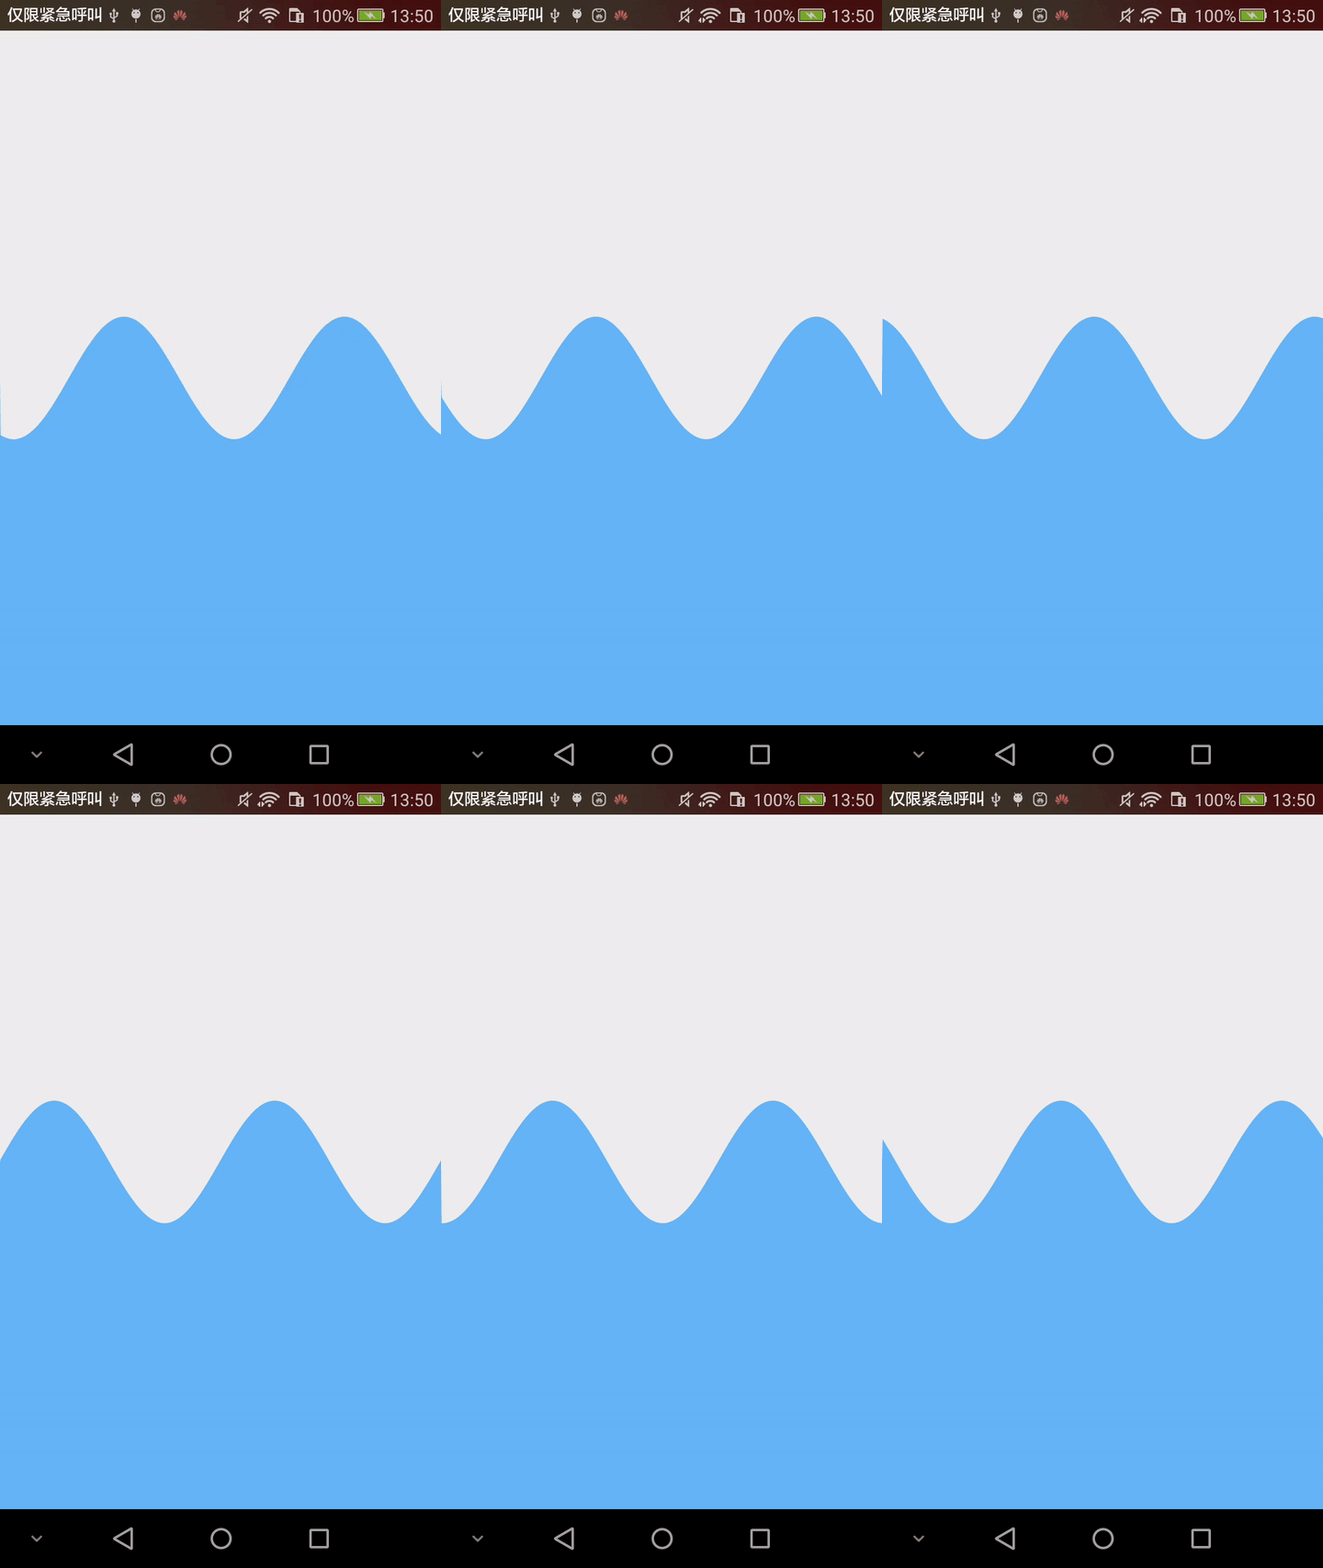
效果演示
代碼調(diào)用與實現(xiàn)效果
xml中調(diào)用
<developer.shivam.waveview.Wave android:layout_width='match_parent' android:layout_height='match_parent' app:amplitude='100' app:quadrant='0.5' app:speed='0.15'/>

實現(xiàn)原理
屬性配置
attrs.xml文件中,進行屬性配置
<?xml version='1.0' encoding='utf-8'?><resources> <declare-styleable name='Wave'> <!--波浪顏色--> <attr name='waveColor' format='color'/> <!--波浪背景顏色--> <attr name='waveBackgroundColor' format='color'/> <!--波浪速度--> <attr name='speed' format='float'/> <!--正弦曲線相關(guān)--> <!--波浪振幅--> <attr name='amplitude' format='integer'/> <!--波浪相對于控件的位置--> <attr name='quadrant' format='float'/> <!--波浪的頻率--> <attr name='frequency' format='float'/> </declare-styleable></resources>
獲取屬性,同時對屬性賦默認值
final TypedArray array = context.obtainStyledAttributes(set, R.styleable.Wave); mSpeed = array.getFloat(R.styleable.Wave_speed, DEFAULT_SPEED); mWaveColor = array.getColor(R.styleable.Wave_waveColor, DEFAULT_WAVE_COLOR); mWaveBKColor = array.getColor(R.styleable.Wave_waveBackgroundColor, DEFAULT_WAVE_BK_COLOR); mAmplitude = array.getInt(R.styleable.Wave_amplitude, DEFAULT_AMPLITUDE); mQuadrant = array.getFloat(R.styleable.Wave_quadrant, DEFAULT_QUADRANT); mFrequency = array.getFloat(R.styleable.Wave_frequency, DEFAULT_FREQUENCY); array.recycle();
繪制波浪
在onDraw()中使用Canvas進行繪制即可,這里需要注意的正弦曲線的繪制.
正弦曲線(y=Asin(ωx+φ)+k)的一些參數(shù)如下:
A——振幅,當(dāng)物體作軌跡符合正弦曲線的直線往復(fù)運動時,其值為行程的1/2。 (ωx+φ)——相位,反映變量y所處的狀態(tài)。 φ——初相,x=0時的相位;反映在坐標(biāo)系上則為圖像的左右移動。 k——偏距,反映在坐標(biāo)系上則為圖像的上移或下移。 ω——角速度, 控制正弦周期(單位角度內(nèi)震動的次數(shù))。
onDraw中的代碼:
@Overrideprotected void onDraw(Canvas canvas) { super.onDraw(canvas); final int width = getWidth(); final int height = getHeight(); final int waveHeight = (int) (getHeight() * mQuadrant); // 繪制背景 canvas.drawColor(mWaveBKColor); mWavePath.moveTo(0, height); mWavePath.lineTo(0, waveHeight); for (int i = 1; i <= width; i++) { // 繪制正弦曲線 y = A Sin(ωt+ ρ) = A sin(2πft + ρ) final float y = (float) (waveHeight + mAmplitude * Math.sin(2 * Math.PI * i * mFrequency + mShift)); mWavePath.lineTo(i, y); } // 將曲線閉合 mWavePath.lineTo(width, height); canvas.drawPath(mWavePath, mWavePaint);}
波浪動畫
這時波浪應(yīng)該已經(jīng)繪制完成了,下面使用Handler中的周期任務(wù)實現(xiàn)動畫效果.
// 創(chuàng)建一個周期任務(wù),它的職責(zé)是改變正弦曲線的偏移量 final class WaveAnimation implements Runnable { @Override public void run() { mWavePath.reset(); mShift += mSpeed; invalidate(); Wave.this.postDelayed(this, DEFAULT_PERIOD); } }
在View被創(chuàng)建的時候讓它進行執(zhí)行
// 開始波浪動畫postDelayed(new WaveAnimation(), DEFAULT_PERIOD);
完整代碼
public class Wave extends View { // 默認屬性值 private static final int DEFAULT_AMPLITUDE = 200; private static final int DEFAULT_PERIOD = 16; private static final float DEFAULT_SPEED = .1F; private static final float DEFAULT_QUADRANT = .33F; private static final float DEFAULT_FREQUENCY = 1F / 360F; private static final int DEFAULT_WAVE_COLOR = Color.parseColor('#64B5F6'); private static final int DEFAULT_WAVE_BK_COLOR = Color.parseColor('#EEEEEE'); @SuppressWarnings('FieldCanBeLocal') @ColorInt private int mWaveColor; @ColorInt private int mWaveBKColor; // 振幅 private int mAmplitude; // 波浪位于View的位置 private float mQuadrant; // 波浪的頻率,這個值越大,波浪越密集 private float mFrequency; // 速度 private float mSpeed; private float mShift; private final Paint mWavePaint = new Paint(Paint.ANTI_ALIAS_FLAG); private final Path mWavePath = new Path(); public Wave(Context context) { this(context, null); } public Wave(Context context, AttributeSet attrs) { this(context, attrs, 0); } public Wave(Context context, AttributeSet attrs, int defStyleAttr) { super(context, attrs, defStyleAttr); init(context, attrs); } private void init(Context context, AttributeSet set) { final TypedArray array = context.obtainStyledAttributes(set, R.styleable.Wave); mSpeed = array.getFloat(R.styleable.Wave_speed, DEFAULT_SPEED); mWaveColor = array.getColor(R.styleable.Wave_waveColor, DEFAULT_WAVE_COLOR); mWaveBKColor = array.getColor(R.styleable.Wave_waveBackgroundColor, DEFAULT_WAVE_BK_COLOR); mAmplitude = array.getInt(R.styleable.Wave_amplitude, DEFAULT_AMPLITUDE); mQuadrant = array.getFloat(R.styleable.Wave_quadrant, DEFAULT_QUADRANT); mFrequency = array.getFloat(R.styleable.Wave_frequency, DEFAULT_FREQUENCY); array.recycle(); mWavePaint.setStrokeWidth(2); mWavePaint.setColor(mWaveColor); // 開始波浪動畫 postDelayed(new WaveAnimation(), DEFAULT_PERIOD); } @Override protected void onDraw(Canvas canvas) { super.onDraw(canvas); final int width = getWidth(); final int height = getHeight(); final int waveHeight = (int) (getHeight() * mQuadrant); // 繪制背景 canvas.drawColor(mWaveBKColor); mWavePath.moveTo(0, height); mWavePath.lineTo(0, waveHeight); for (int i = 1; i <= width; i++) { // 繪制正弦曲線 y = A Sin(ωt+ ρ) = A sin(2πft + ρ) final float y = (float) (waveHeight + mAmplitude * Math.sin(2 * Math.PI * i * mFrequency + mShift)); mWavePath.lineTo(i, y); } // 將曲線閉合 mWavePath.lineTo(width, height); canvas.drawPath(mWavePath, mWavePaint); } final class WaveAnimation implements Runnable { @Override public void run() { mWavePath.reset(); mShift += mSpeed; invalidate(); Wave.this.postDelayed(this, DEFAULT_PERIOD); } }}
以上就是本文的全部內(nèi)容,希望對大家的學(xué)習(xí)有所幫助,也希望大家多多支持好吧啦網(wǎng)。
相關(guān)文章:
1. XML入門精解之結(jié)構(gòu)與語法2. CSS Hack大全-教你如何區(qū)分出IE6-IE10、FireFox、Chrome、Opera3. CSS3實例分享之多重背景的實現(xiàn)(Multiple backgrounds)4. 利用CSS3新特性創(chuàng)建透明邊框三角5. XML入門的常見問題(一)6. HTML5 Canvas繪制圖形從入門到精通7. 概述IE和SQL2k開發(fā)一個XML聊天程序8. HTML <!DOCTYPE> 標(biāo)簽9. HTML DOM setInterval和clearInterval方法案例詳解10. XML入門的常見問題(二)

 網(wǎng)公網(wǎng)安備