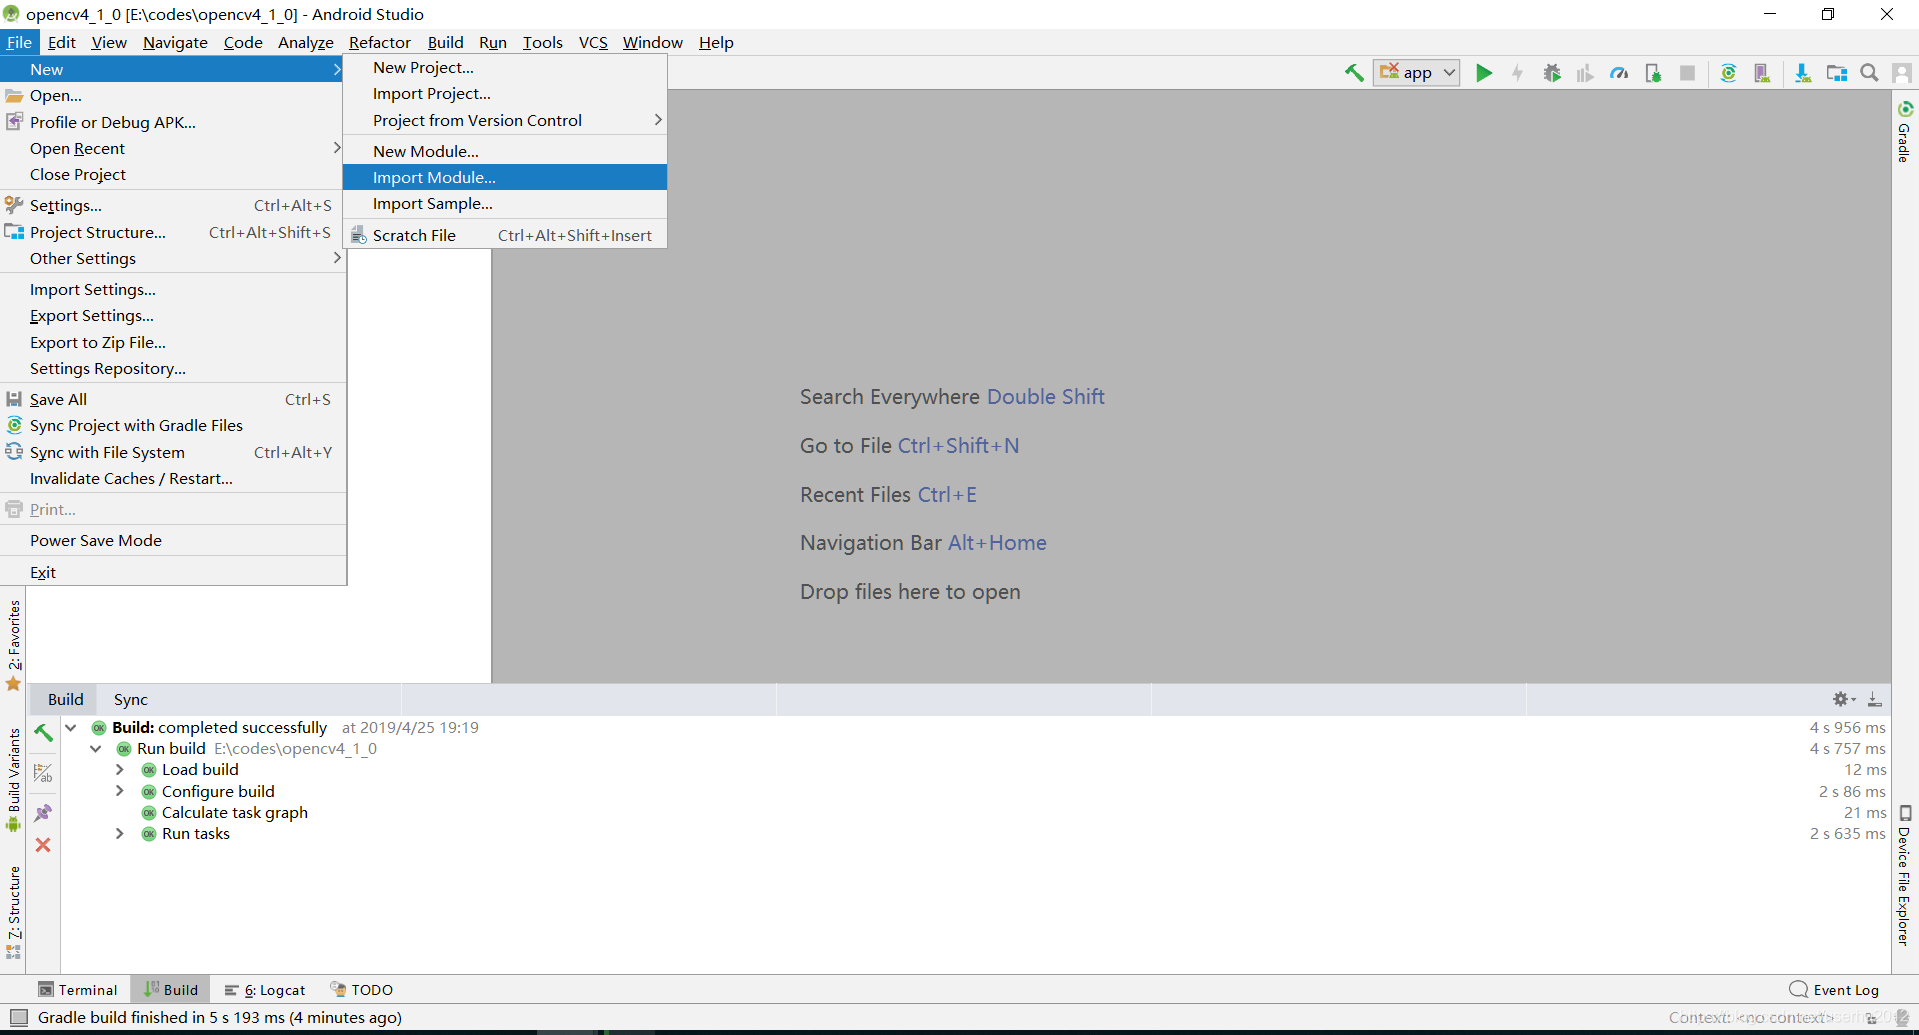
使用Android Studio創(chuàng)建OpenCV4.1.0 項目的步驟
一、OpenCV
OpenCV(開源計算機視覺庫)是一個開源的計算機視覺和機器學(xué)習(xí)軟件庫,是一個基于C與C++的跨平臺計算機視覺處理庫。
二、下載
開發(fā)基于Andorid的計算機視覺的應(yīng)用可以使用OpenCV 4.1.0-Android SDK:
從官方網(wǎng)站下載 OpenCV 4.1.0 For Android SDK
https://sourceforge.net/projects/opencvlibrary/files/4.1.0/opencv-4.1.0-android-sdk.zip/download
三、使用Android Studio 開發(fā)基于OpenCV 4.1.0的移動應(yīng)用
(1)平臺版本
Android Studio 3.2.1
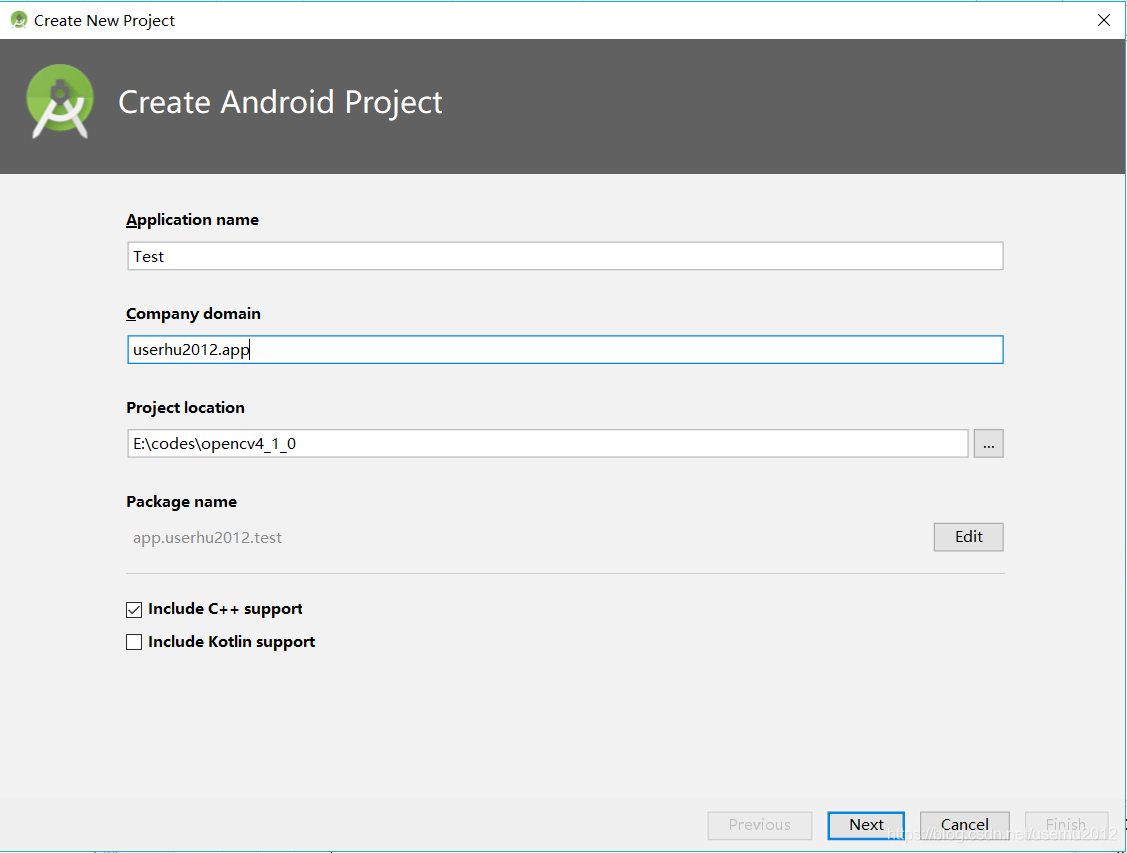
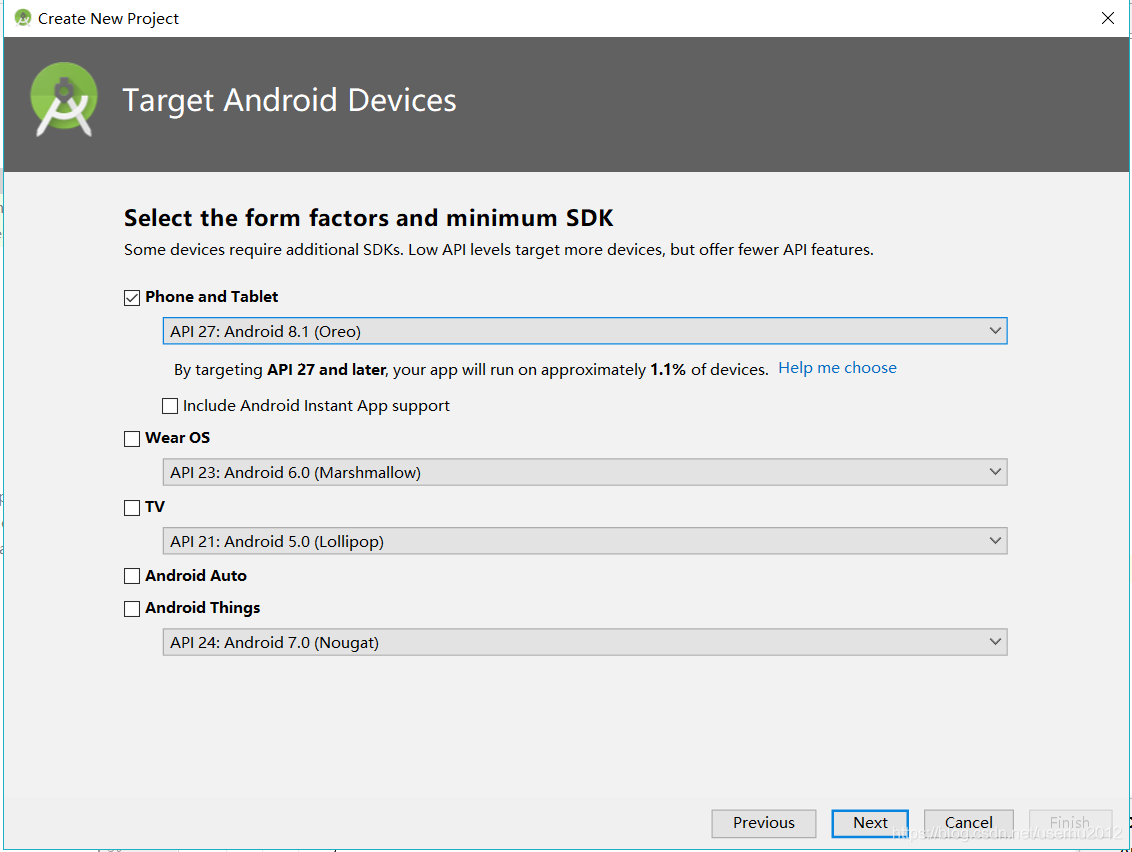
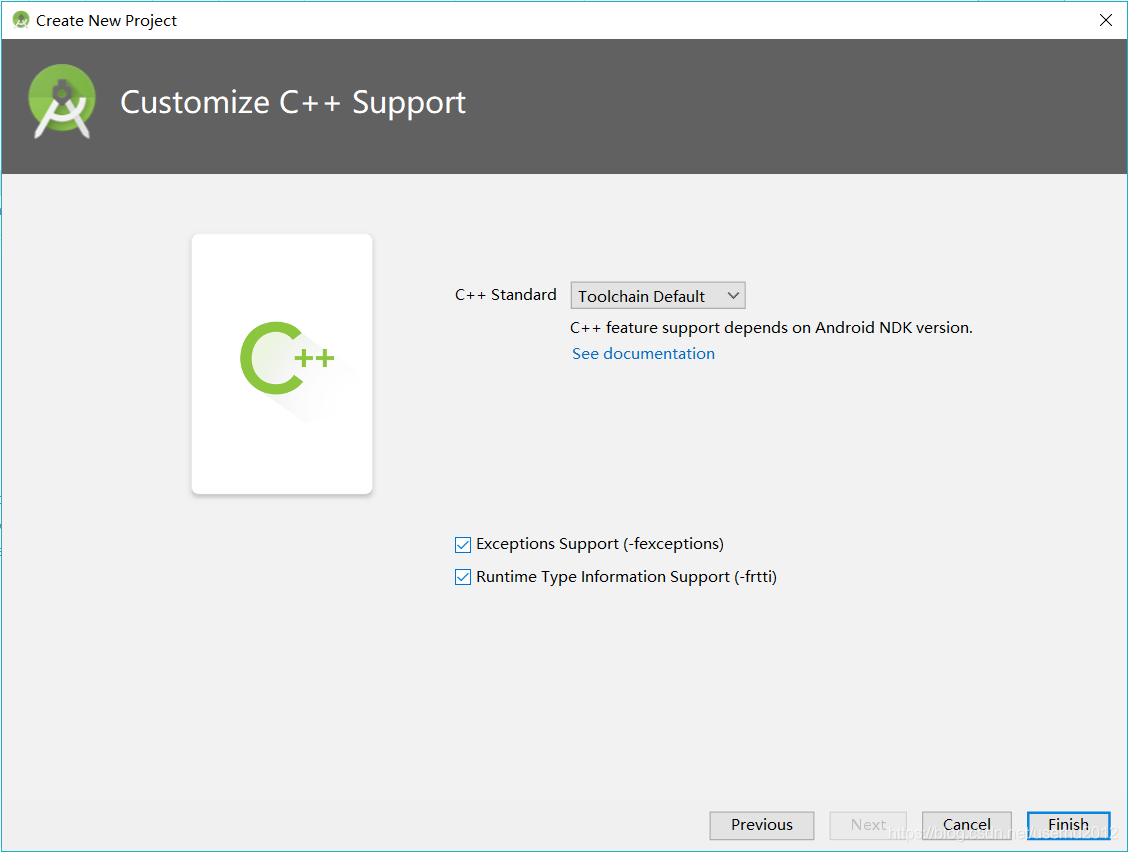
(2)新建一個Android項目

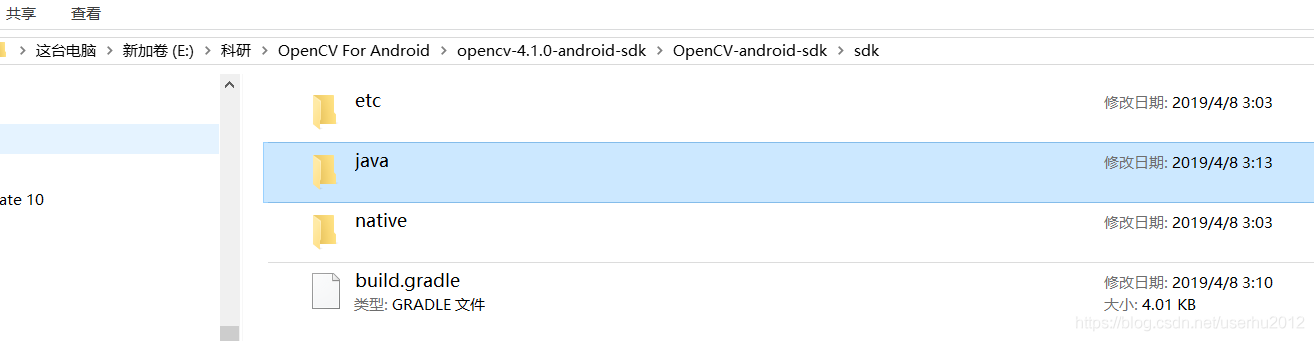
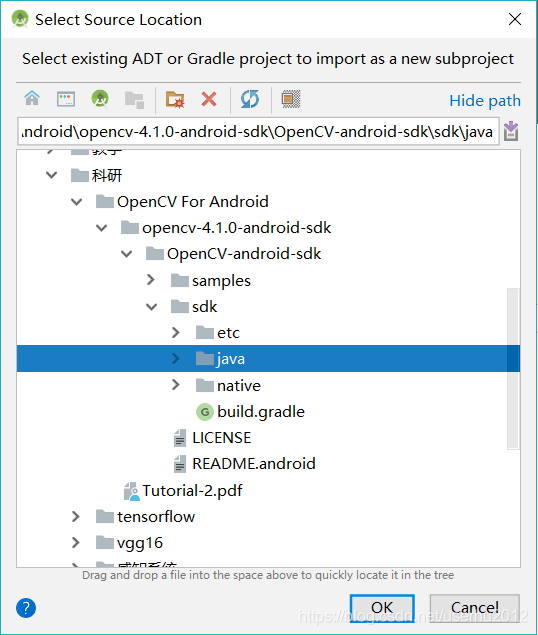
(3)將OPENCV 4.1.0 Android SDK的java模塊導(dǎo)入到項目中
a) 將下載的opencv-4.1.0-android-sdk.zip文件解壓,解壓后進入到“opencv-4.1.0-android-sdkOpenCV-android-sdksdk”的目錄下,有如下文件:
b)將java模塊導(dǎo)入到已創(chuàng)建的項目中
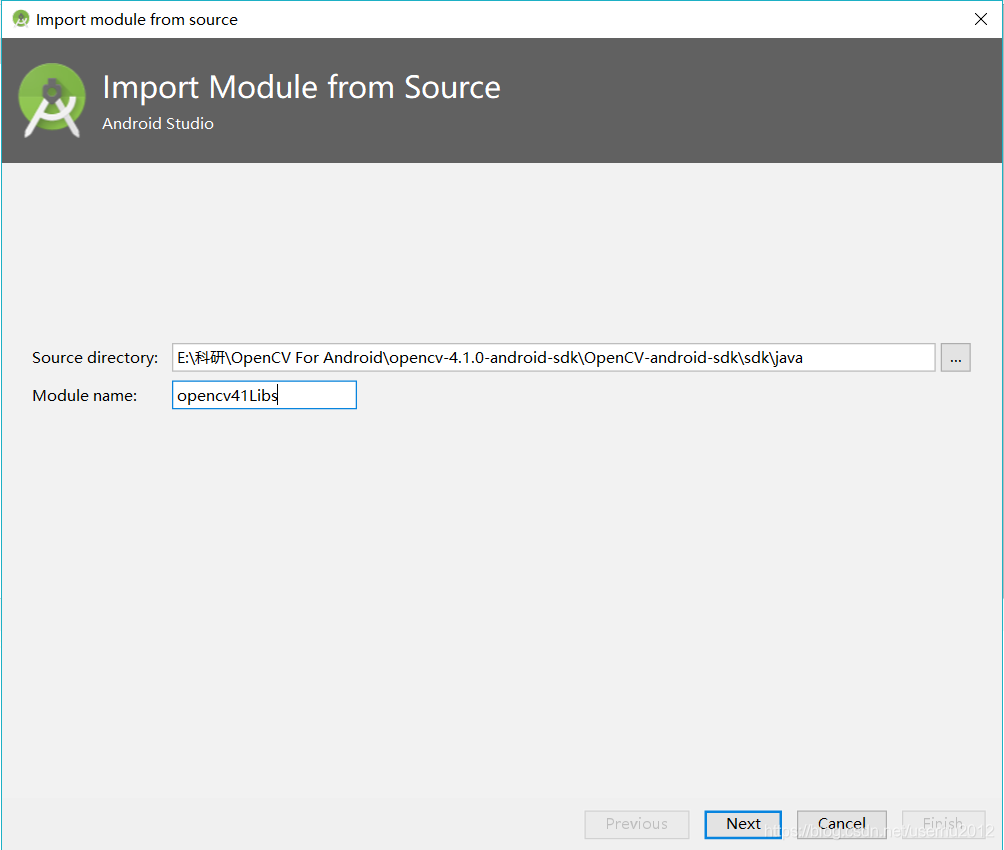
c)將已經(jīng)改名為opencv41Libs(命名自行定義)的java模塊,即opencv41Libs模塊修改對應(yīng)的build.gradle文件
有三處需要注意:
將文件中的 'apply plugin: ’com.android.application’'修改為“apply plugin: ’com.android.library’” 將文件中的自動生成的“applicationId 'org.opencv'”刪除,因為opencv41Libs模塊是作為庫存在而不是應(yīng)用存在 將compileSdkVersion 、buildToolsVersion、minSdkVersion 、targetSdkVersion 屬性值的設(shè)置與app對應(yīng)的build.gradle文件的配置一致。例如app對應(yīng)的build.gradle為:
apply plugin: ’com.android.application’android { compileSdkVersion 28 defaultConfig { applicationId 'app.userhu2012.test' minSdkVersion 27 targetSdkVersion 28 versionCode 1 versionName '1.0' testInstrumentationRunner 'android.support.test.runner.AndroidJUnitRunner' externalNativeBuild { cmake {cppFlags '-frtti -fexceptions' } } } buildTypes { release { minifyEnabled false proguardFiles getDefaultProguardFile(’proguard-android.txt’), ’proguard-rules.pro’ } } externalNativeBuild { cmake { path 'CMakeLists.txt' } }}
則opencv41Libs對應(yīng)的build.gradle文件配置如下:
apply plugin: ’com.android.library’android { compileSdkVersion 28 buildToolsVersion '28.0.3' defaultConfig { //applicationId 'org.opencv' minSdkVersion 27 targetSdkVersion 28 } buildTypes { release { minifyEnabled false proguardFiles getDefaultProguardFile(’proguard-android.txt’), ’proguard-rules.txt’ } }}
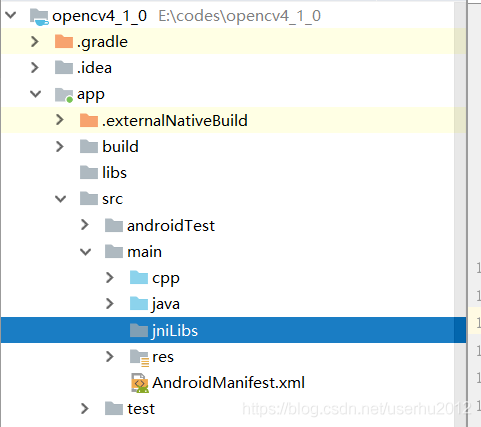
d)配置libs庫
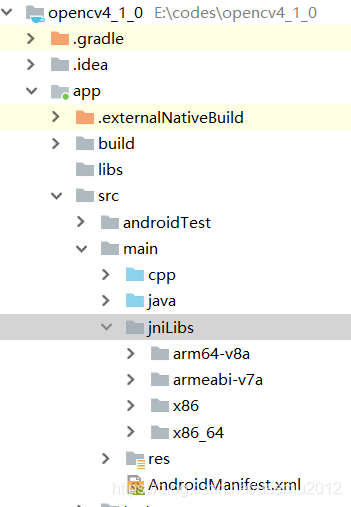
為項目app的src/main目錄下創(chuàng)建一個jniLibs目錄(如果沒有的話)
將opencv 4.1.0 android sdk中的opencv-4.1.0-android-sdkOpenCV-android-sdksdknativelibs庫的所有架構(gòu)文件復(fù)制到j(luò)niLibs目錄中

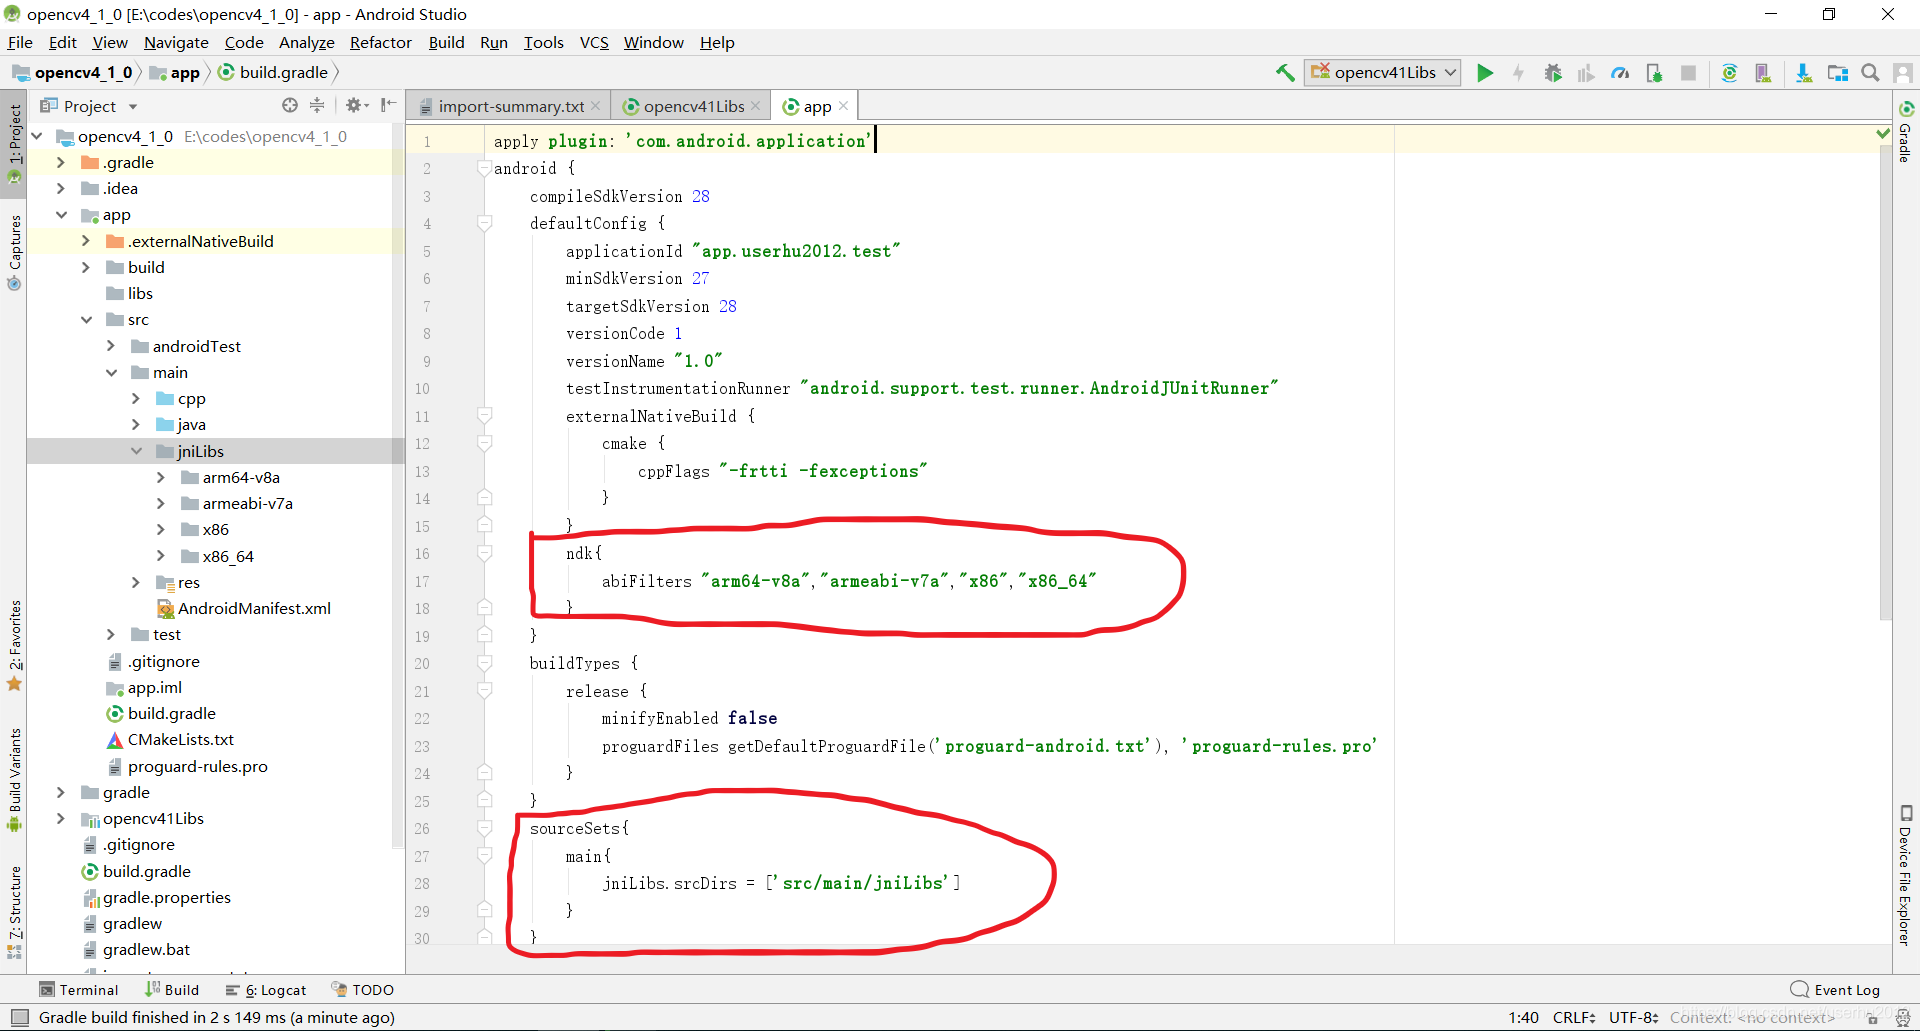
再到項目app模塊對應(yīng)的build.gradle進行配置,增加jniLibs.srcDirs參數(shù)
sourceSets{ main{ jniLibs.srcDirs = [’src/main/jniLibs’] }}
以及配置支持的ndk類型,如下圖所示,把已知的架構(gòu)包寫到app對應(yīng)的build.gradle中
然后配置項目app的依賴項目,選擇“文件”-》“Project Structure”,然后設(shè)置app模塊的的依賴模塊,如下圖所示:
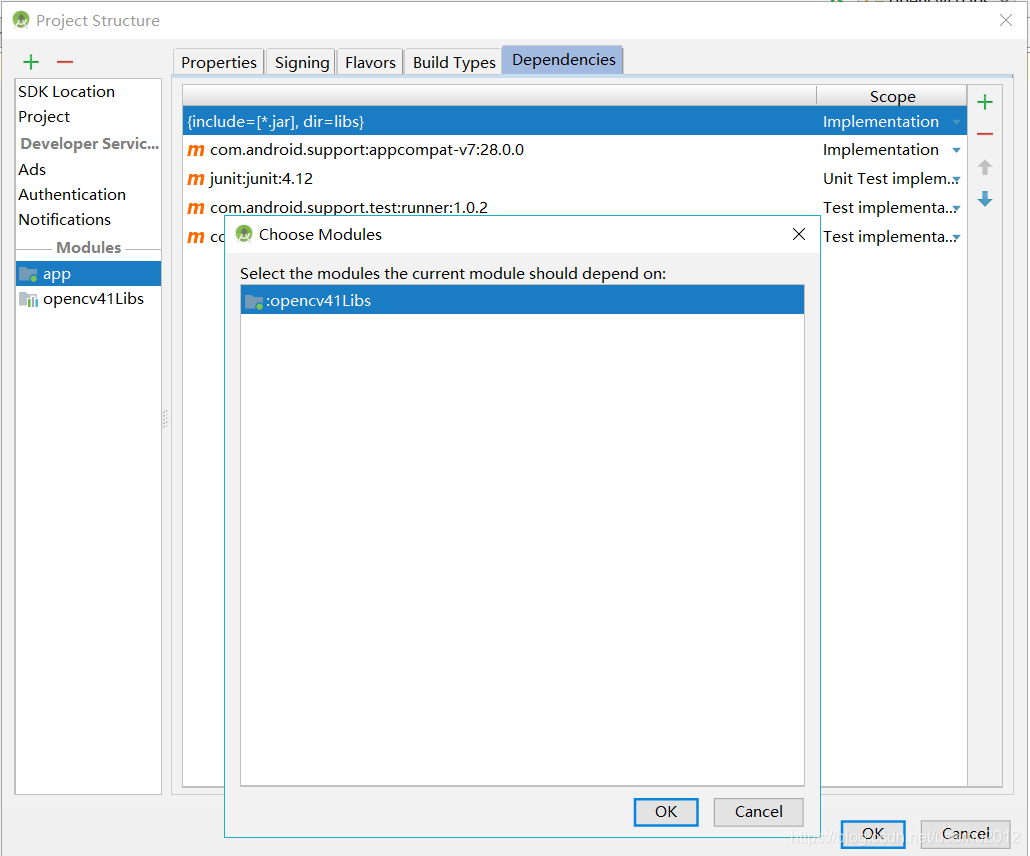
選擇“OK',app模塊對應(yīng)的build.gradle的文件如下所示:
apply plugin: ’com.android.application’android { compileSdkVersion 28 defaultConfig { applicationId 'app.userhu2012.test' minSdkVersion 27 targetSdkVersion 28 versionCode 1 versionName '1.0' testInstrumentationRunner 'android.support.test.runner.AndroidJUnitRunner' externalNativeBuild { cmake {cppFlags '-frtti -fexceptions' } } ndk{ abiFilters 'arm64-v8a','armeabi-v7a','x86','x86_64' } } buildTypes { release { minifyEnabled false proguardFiles getDefaultProguardFile(’proguard-android.txt’), ’proguard-rules.pro’ } } sourceSets{ main{ jniLibs.srcDirs = [’src/main/jniLibs’] } } externalNativeBuild { cmake { path 'CMakeLists.txt' } }}dependencies { implementation fileTree(include: [’*.jar’], dir: ’libs’) implementation ’com.android.support:appcompat-v7:28.0.0’ testImplementation ’junit:junit:4.12’ androidTestImplementation ’com.android.support.test:runner:1.0.2’ androidTestImplementation ’com.android.support.test.espresso:espresso-core:3.0.2’ implementation project(’:opencv41Libs’)}
這樣配置就可以使用Android Studio創(chuàng)建OpenCV 4.1.0 項目。
到此這篇關(guān)于使用Android Studio創(chuàng)建OpenCV4.1.0 項目的步驟的文章就介紹到這了,更多相關(guān)Android Studio創(chuàng)建OpenCV 內(nèi)容請搜索好吧啦網(wǎng)以前的文章或繼續(xù)瀏覽下面的相關(guān)文章希望大家以后多多支持好吧啦網(wǎng)!
相關(guān)文章:

 網(wǎng)公網(wǎng)安備